This month assignment for September "Water"
Our presentation this month is by Jim Harmer from Improve Photography
 Lightroom is one of the most powerful photographic tools available today, but unfortunately many photographers still haven’t learned the software, or only use it for basic edits.
However, Lightroom is incredibly powerful for digital image stylization, and over the last several years has taken over much of the time that I used to spend in Photoshop. Now, I’d estimate that 80 to 90% of the time I spend on the computer is with Lightroom.
Lightroom does two things well: photo correction and stylization. But it also has limitations when compared with an editor such as Photoshop. The principal limitation is the inability to composite photos, but some mistakenly refer to this limitation as not having “layers.” In reality, everything in Lightroom is a layer because all edits are non-destructive.
 It is this non-destructive workflow that makes Lightroom so powerful. While many changes in Photoshop can be undone and altered later if proper standards are followed, other changes are baked in. In Lightroom, it is impossible to make a destructive edit to your photo--making it quick, easy, and helps to protect your photos over time.
These basics of Lightroom are important for the novice editor to learn, but unfortunately that is where most photographers stop in the process of learning Lightroom. This causes them to miss out on what I consider to be the most powerful image stylization tool on the planet.
 As a photography instructor, I do over 100 portfolio reviews every month. Other than obvious problems with sharpness and focus, the single most common problem I see that keeps photographers from reaching the next level is they have not learned to properly stylize their images.
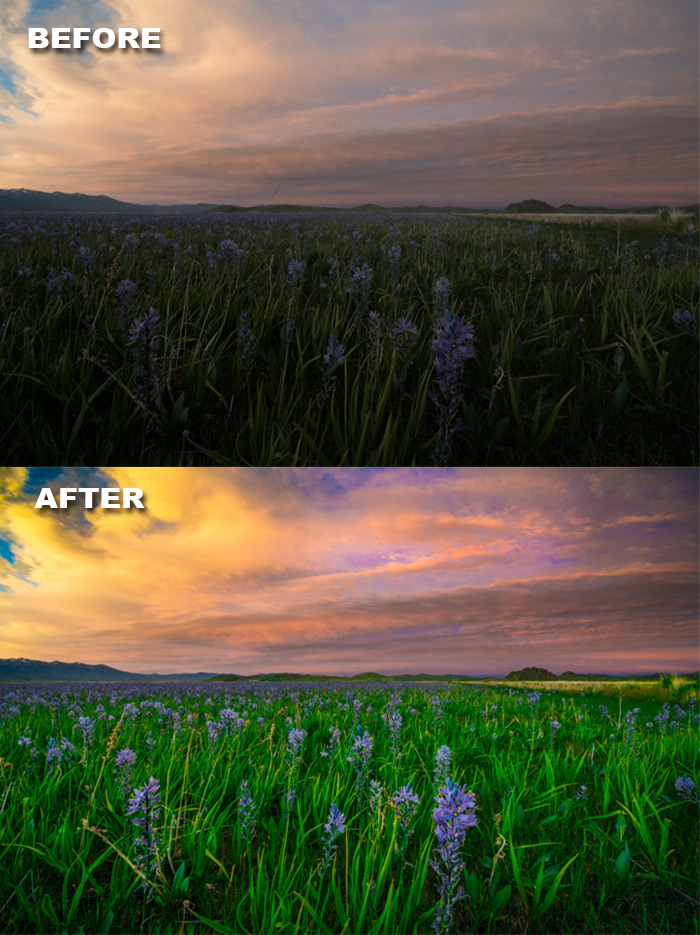
Image stylization is the very reason why “filter” apps such as Instagram have become so popular. Casual photographers can quickly see how basic edits to a photo can dramatically change the impact of the photo. Yet, stylization need not destroy image quality like many of these filters do.
In this presentation I want to accomplish two things: (1) Quickly get you up to speed on a Lightroom workflow, including best practices for those who are already familiar with the program, and (2) share the process I use to stylize photos in Lightroom.